Showing posts with label chrome. Show all posts

Friday, February 14, 2020

Coding with Year 7 - Lesson 1

I have been preparing for my coding lessons with my new Year 7 class this year. I wrote a blog post here about how i was going to be looking at Algorithms.

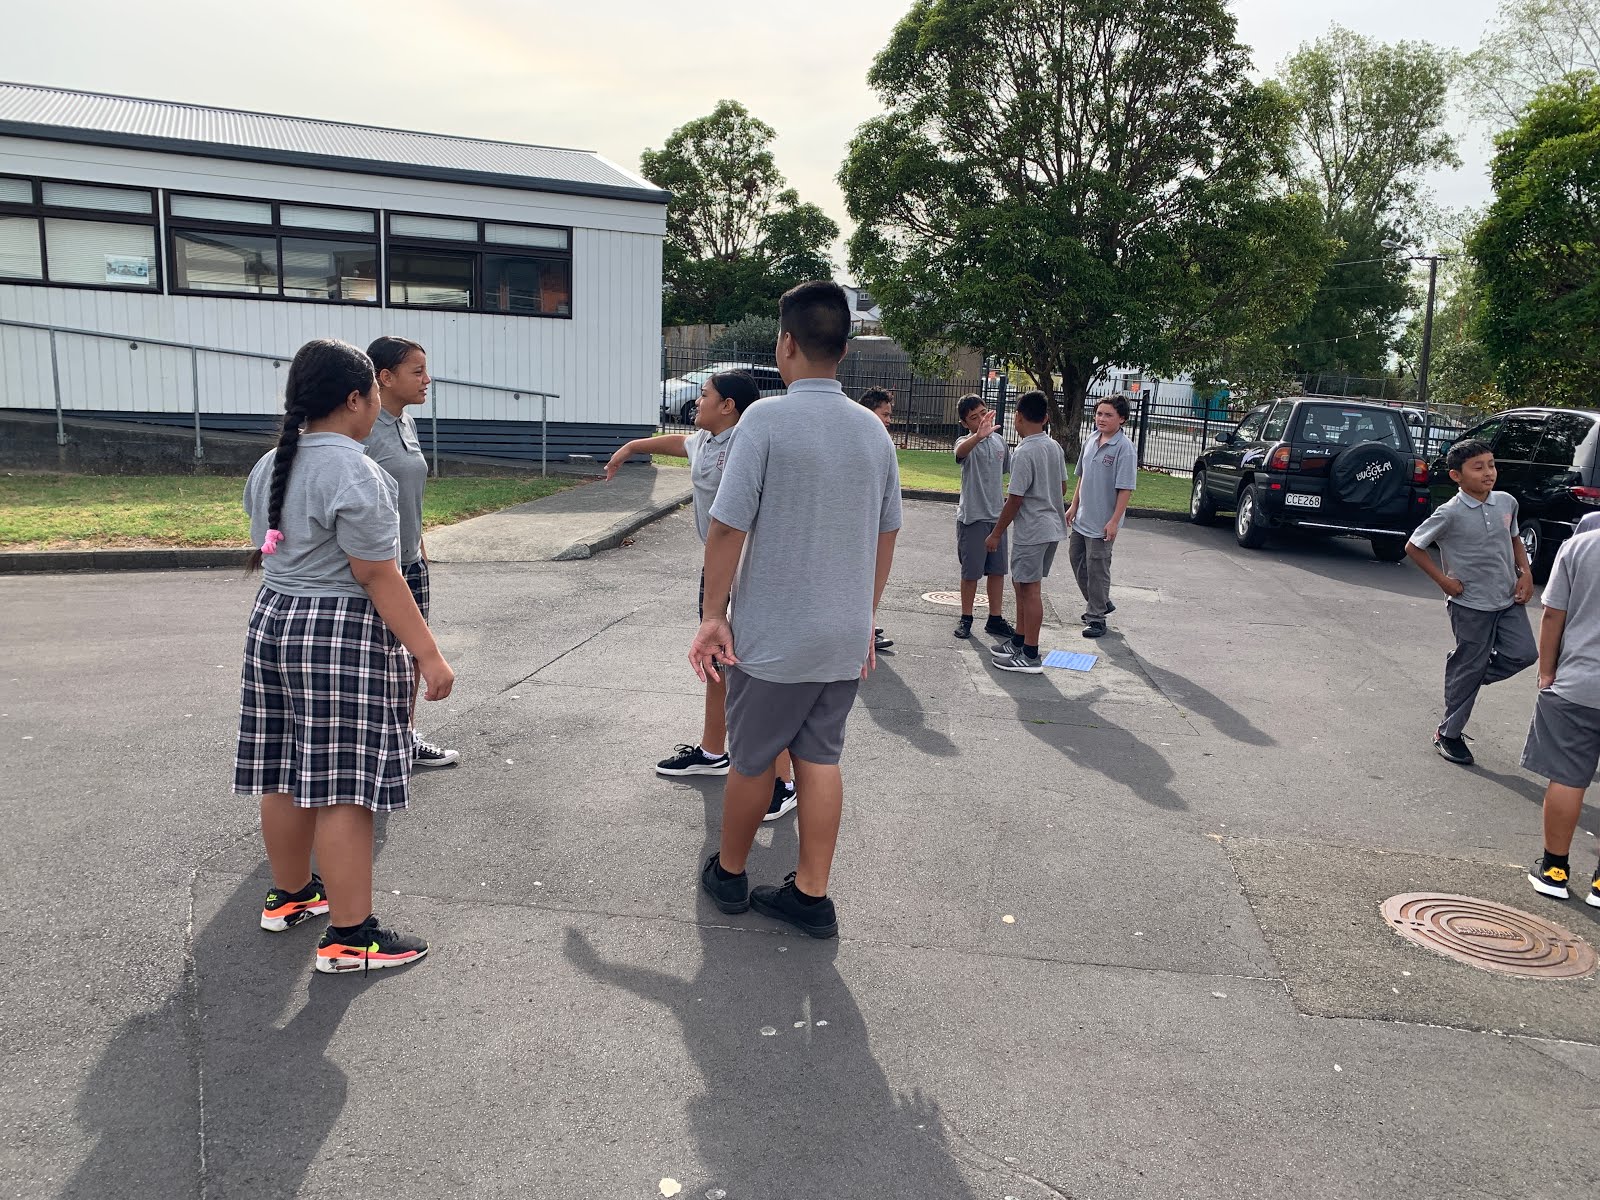
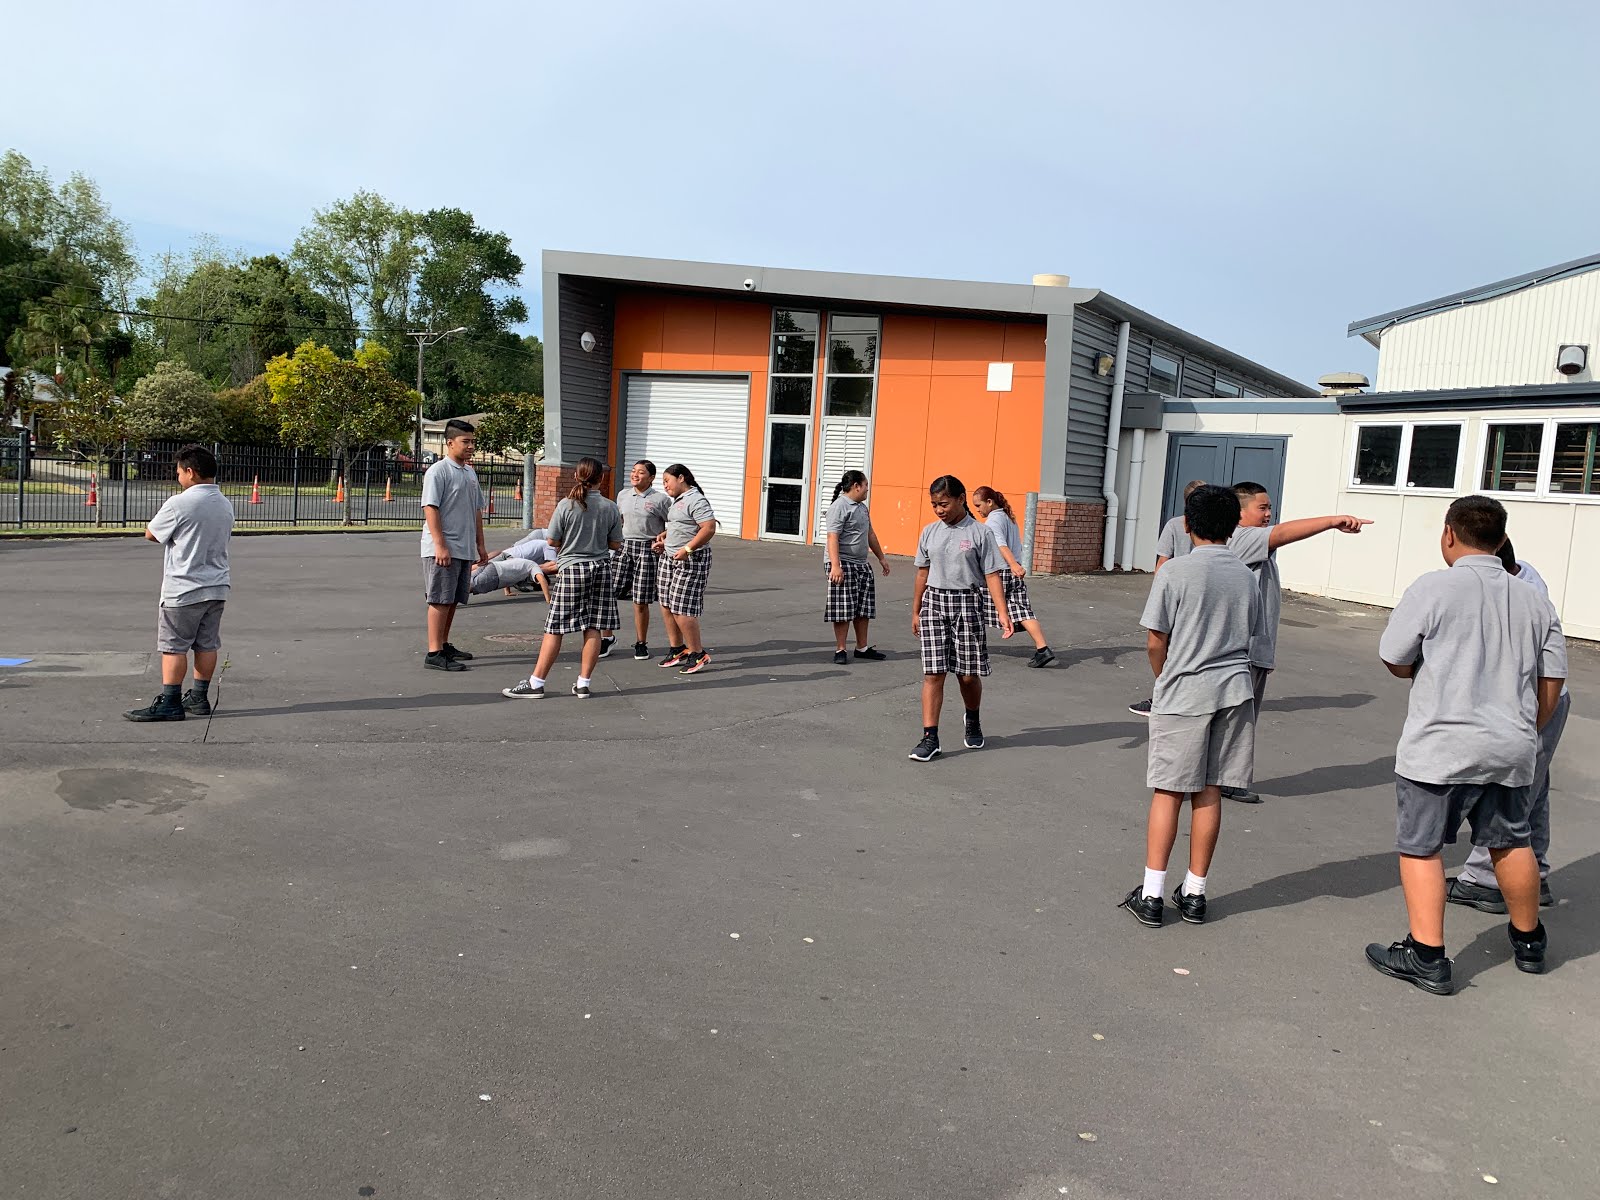
Our first lesson was today, and after  we all got on my new website, found the work and I had given them a brief description of what an algorithm is, we all went into the carpark to try some out.


  • They got into small groups and decided who was the programmer and who were the robots.
  • Instruction 1 - The programmer had to give their robots one instruction and watch them do it then give them another and so on.
  • Instruction 2 - The same as one but they had to give two instructions.
  • Instruction 3 - They have to give 3 instructions bit include more details like direction and how long or how many.
  • Instruction 4 - They have to give 5 instructions, include details, one has to be sound, one movement in a line, one a dance movement
  • The programmer had to give the "algorithms" and the robots had to listen and remember a sequence of instructions.
We then got on with the rest of the prepared lesson as it is on the class site. We didn't get as far as I had planned as we spent a little more time playing in the carpark than I intended.

Things to note for next time :-
Check the mBots are charged - we had a couple of flat ones today
Check the boxes all have 6 in them - there was one with 3 today
The link to a copy of the presentation worked well and saved time.
They all got online fast and found the site and work very efficiently.


Wednesday, February 12, 2020

Preparing for my first Year 7 Coding Lesson

I have my first coding lesson with a year 7 class on Friday.
I have had some experience of teaching coding last year to a Year 8 class last year where we were making an mBot robot follow a black line using sensors.
Blog post 1     Blog post 2
With this, I was using the planning of Mr Dunn as he had been doing this with other Year 7 and 8 classes.
This is my first year planning for it myself.

To start with, I am going to talk to my Year 7 group about what an ALGORITHM is. We will relate it to real life things that they know about and my example will be knitting.

Input - the wool, the algorithm - the knitting pattern, output - a jumper.

This table is what we will fill in with everyday examples. Link to Google Drawing here.


Then we will move on to having a bit of a play with the mBots and a first go at using the mBlock software.
This is the link to my site where I have put all of the activities for this.
The activities are listed on the drop down under Y7 and Y8, coding.


This is the presentation with the first coding activity for the mBot. We are making coloured lights.
I have set it up so it is very visual (I am a graphics / design teacher!!) and so they have to put evidence of their work and thinking as we go.
This one is very simple in order to get them used to using the mBot, the online programme and having to evidence their work with screenshots, videos and analysis of what was happening.
This needs to get more complex as they get experience so they can start deeper analysis of what they did, what happened, what went wrong and what they did to change things.

Monday, March 17, 2014

Playing with Screencasting using Snagit on my new Chromebook

I got my new Chromebook today. It is an Acer C720, the new model that the students are getting this year.
I am loving it already. Easy, fast, light weight.
One of the first things I had to try out was screen casting using the Snagit app from the Chrome web store.
I had seen it mentioned on Google Plus, so had to give it a try.

In the Chrome web store, there are two entries for Snagit, an app and and extension. You need to get both of them.


After you have got both of these, open the app and click on the settings wheel. You need to tick the "enable experimental features" option. Once you have done this, the input audio levels bar will be seen and if you make a noise, you will see this pick up the sound.


Now when you open the Snagit app, you will see this box. This will hold all of your screen captures and it has the button to start a new screen cast.


The first time that you do this, it will display a warning box that you need to enable a setting in chrome. It has a link to this so click on through to it. It will take you straight to the settings that need the enable option clicking.
Restart chrome and you are ready to go.
When you click on new screen recording now, it asks to share you screen, so choose yes.
You can then do everything on your screen that you want to record.


This box is down at the bottom left of your screen, and when you are doe, you click on stop.


When you have finished, it will display this box where you can review your recording and see if it is good enough. If you don't like it, just hit the cross to close it and you can start again.
You can also choose a file name here, at the top where the date and time is as a placeholder name.


At the bottom, there is a share option and you get to choose from your Google drive or YouTube account.


Here is a quick one that I made to try it out. This is hosted on YouTube.


Here is a link to a site page where I embedded the video that I had saved into my Google Drive.

On the whole, I found this easy to do and the quality of the output was really good.
I have not tried this on any other device yet, so I don't know if the quality is different then, but I am pleased with the result today.
Very useful......

Tuesday, February 25, 2014

Putting Photos on Your Google Site using an iPad

I have been experimenting recently with putting multiple photographs on a Google site using an iPad. This was originally in response to a question I was trying to help with and then today I was asked to do a blog post about it to help others.
These are screen shots of the process I went through.
I have used a combination of the Google Drive app and the Chrome app, both of which are free.
Make sure that the photos you want to use are on the iPad.

I started by using the Google Drive app for the iPad.

Click on the + symbol on the top right and choose new folder. Then name your new folder.


Open your new folder from the drive list and click the + button again. This time choose to upload photos or videos.


It will ask to have access to your photos on your iPad.
Open the photo album choice and tick the photos you want to upload into the new folder.


Your nicely uploaded photo files will now be sitting nicely in their new folder.


Next, I used the Chrome app to work on my site.
Open the site page that you want to put the photo folder, and click on the pencil to edit the page.
On the insert menu, choose drive, then folder.

Tick the folder that you have just created and put pictures into.

Next, make sure you tick the option for the grid view. This way, you get a preview of your photos when the folder is embedded on the site page.

You embedded folder looks like a normal Google gadget when your page is in edit mode.


When you save your page, you can see the embedded folder with the photos that you uploaded. These photos are shown in thumbnail mode due to you ticking the grid choice.