Here is a link to the project on the class site. I have set up this Year 10 project to be similar to an NCEA Level 1 DVC project, so they have experience of this kind of work before making their choices for next year.
Part of what we have to do within a Technology project is to analyse existing products.
To build the complexity in this, I have used a SOLO structure.
To start with, the students found a photograph of a portable speaker that they like and they had to share it into the Year 10 Google Plus class community, and say why they had chosen this design. As usual, I kicked this off with an example. This was a good way of getting them to join the community and post in it with a simple, UNISTRUCTURAL piece of information. No pressure.
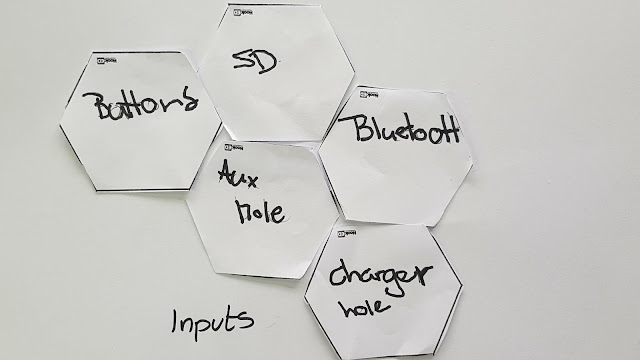
Next, I gave them out a sheet of hexagons. In each hexagon they had to put one item of information about / an attribute of a portable speaker. They then cut them out and got together with a partner.
In their pairs, they had to put the hexagons in groups of their choosing and explain why they put this group together.
Here is an example shown below, the rest of the work is in this folder.
We found it was easiest to start to do this by picking a hexagon at random and then choosing others that would go with it. This got them started and they found it easier to put more groups together after that. As they quickly found out, it was the arguing and discussion about the reason which was the most important and most difficult part of the activity. (well, that and tidying up after... my room looked like a paper bomb had gone off in it!!)
This is a good exercise to do before they start designing as it makes it clear to them which attributes of a portable speaker are more important than others, which are linked together and which are reliant on others. So in terms of SOLO, this was taking lots of MULTISTRUCTURAL information and creating RELATIONAL links between them.
We made a start on another RELATIONAL activity next, which was a timeline.
It is always good to see a product in relation to how it has changed over time. Practical things like size, materials, portability, fashion etc can all be discussed while doing an activity like this. The students made a start on this using Google Drawings, and will be finishing them tomorrow. Two students completed today and their work is shared in the Google Plus Community.
The next step for this class is to do individual product analysis. I have set this up to take them through the SOLO levels slowly, building up the complexity to EXTENDED ABSTRACT.


No comments:
Post a Comment